self-portrait project
brainstorming ideas
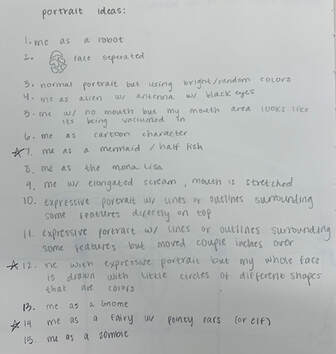
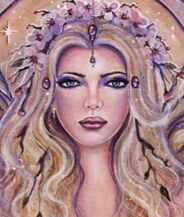
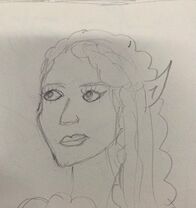
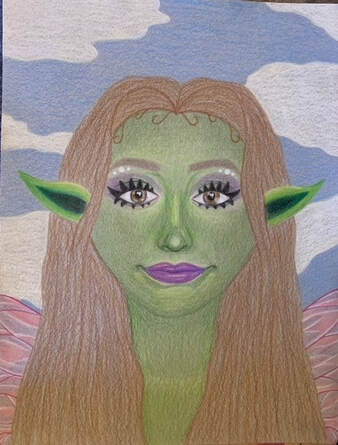
Brainstorming different ideas for my portrait, I chose to do myself as a fairy
reference photos
reference photo #1
|
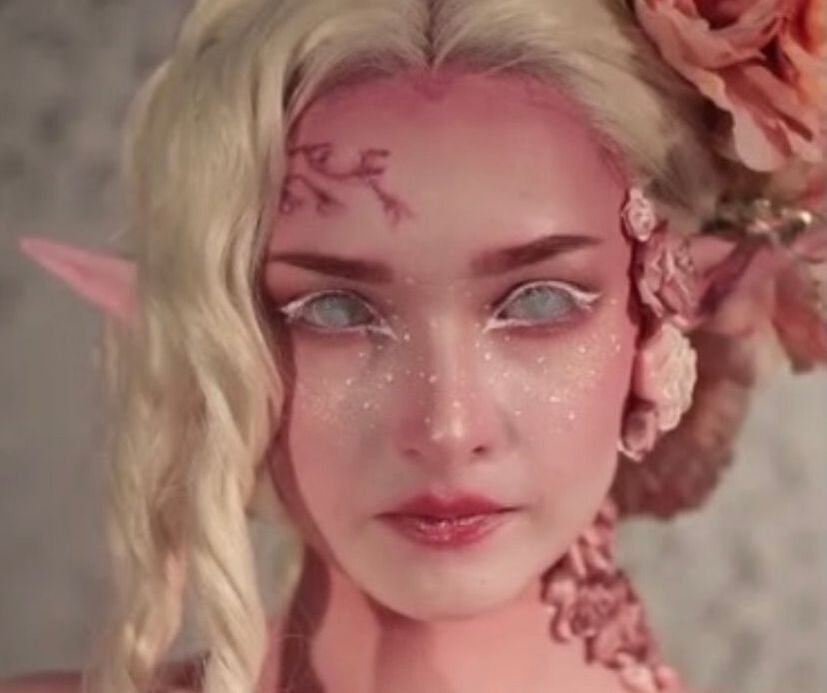
reference photo #2
|
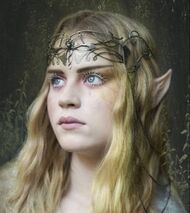
reference photo #3
|
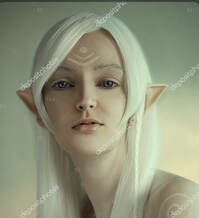
reference photo #4
|
my pictures

One of the pictures of me I chose to use for reference
|
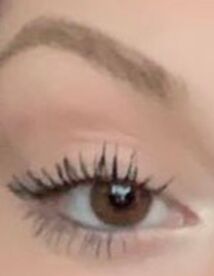
a close up of my eye from the picture on the left
|
sketches
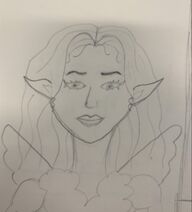
compositional sketch #1 (I used a combination of this comp sketch and #2)
|
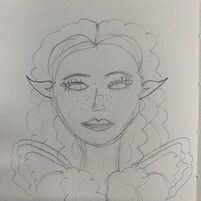
compositional sketch #2
|
compositional sketch #3
|
final color sketch
|
in progress
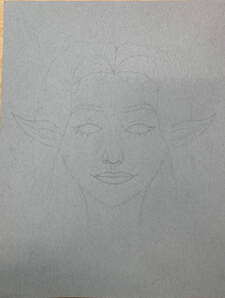
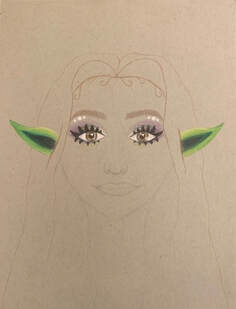
In progress photo 1- Started tracing the outline of my drawing in pencil
|
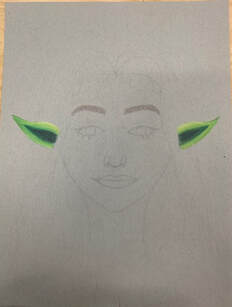
In progress photo 2- Started and finished coloring the ears, finished coloring the eyebrows
|
In progress photo 3- started and finished the eyes and details in the eye area, added the outline of the hair in colored pencil
|
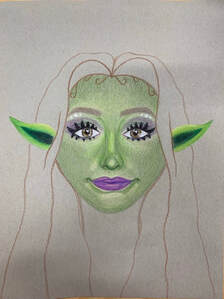
In progress photo 4- started coloring in the face, added the coloring of the lips, adding in more highlights and contours
|
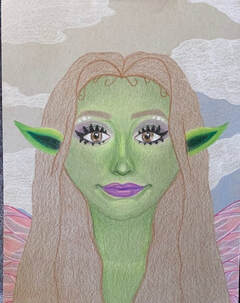
In progress photo 5- added a base color down for the hair, finished coloring in the face and colored in the neck, added some wings and the highlights, put in some clouds and started the background
|
final self-portrait
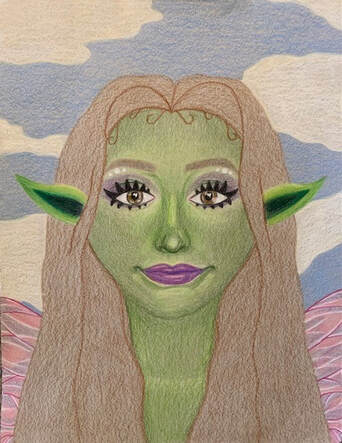
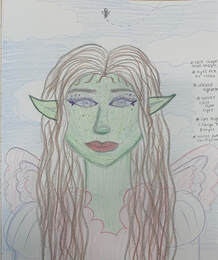
Final photo, a warmer tone
|
Final photo, a cooler/darker tone
|
Self evaluation questions:
1. To create my drawing, I started off by tracing my main facial features in pencil. Then I started coloring in the smaller areas like the ears, eyebrows, eyes, eye area, and lips, then worked my way up to coloring in the face. I layed a base color down first for most aspects of this piece and then would get up to the point where I thought I added enough layers. After I worked on the hair a little, I started on the background and then finished up the minor details.
2. I represented myself by trying to recreate my own, specific facial features but put on to the face and body of a fairy.
3. I believe I did create value in my portrait. I added highlights to the high points of my face like the tip and bridge of my nose, my brow bone, my inner eye corner, my collar bone, and areas near my mouth and chin. I also added the darker and more contoured areas of my face like the ends of my smile, the sides of my nose, the top of my forehead, and slightly on my cheeks and upper neck.
4. I would say I had decent craftsmanship. I think my work is pretty neat and well thought out. I could have maybe taken more time to blend certain areas together a little more or add more minor details but other than that I think I executed this project well.
5. I captured my own appearance and look by adding recognizable aspects of myself to my drawing such as brown hair, brown eyes, brown eyebrows, and similar facial features. I also decided to make the skin green because fairies remind me of nature and green is also my personal favorite color.
6. I made sure I had correct facial feature placement by using the technique we used in class by measuring out the whole face with the shape and length of an eye. I created a grid and followed the rules of the eye placements and used a ruler to ensure everything would lay in the proper spot.
7. Learning how to draw all the features individually was very important to have a successful piece. Looking at the big picture of a portrait makes it difficult to see all the details of each feature. learning how to draw them by themselves made it easier for me to piece the puzzle together by looking at each feature as if it were its own drawing.
8. For me personally, the most beneficial parts of this project was learning about the eye placement technique for placing the facial features and the how to draw a nose video. I have always struggled with drawing noses and that video really helped me figure out the steps I needed to take in order to draw my own nose correctly. The eye placement technique we learned in class assisted me in making sure all proportions were right and that the distance between features was good.
9. I had a difficult time with blending the colors together nicely on my face, specifically the middle area and I wish I had been more patient and slowed down there. However, I was in a time crunch and I think that made me nervous that I would not finish in time so I tried to just lay it all down at once. I tried to fix that by going over those areas with different shades and I think that helped a little.
facial features drawings
eyes
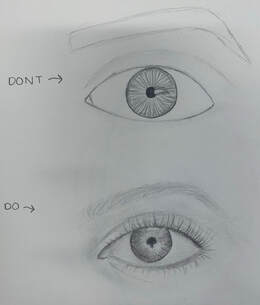
2 eyes I drew following the video tutorial. one is a 'do' and one is a 'dont'
|
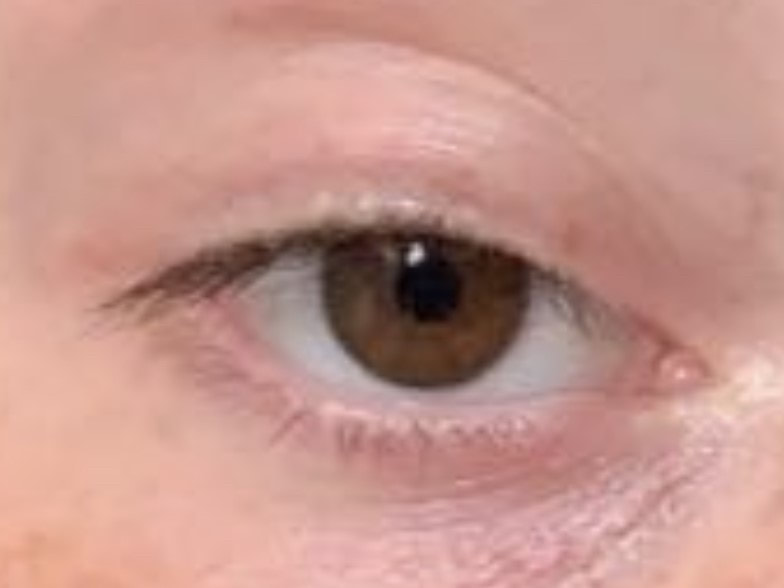
picture of my eye
|
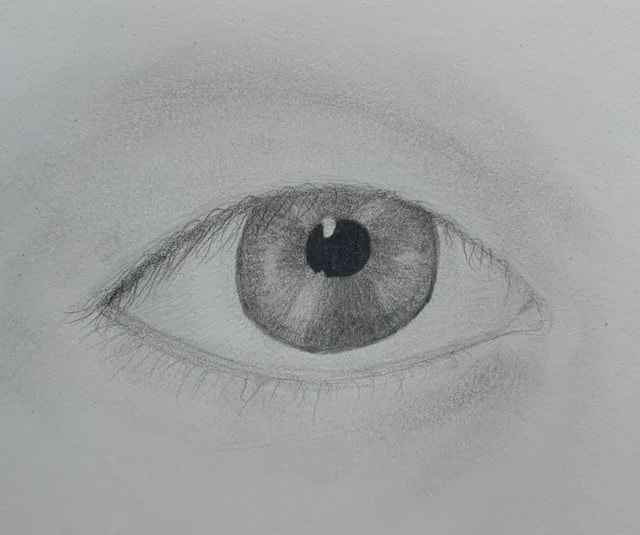
my eye I drew from the picture on the left
|
nose
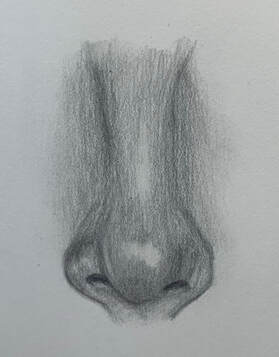
a nose I drew following the video tutorial
|
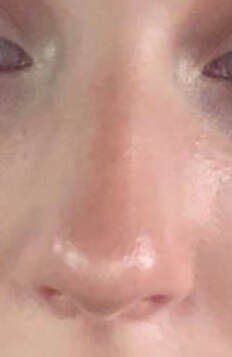
picture of my nose
|
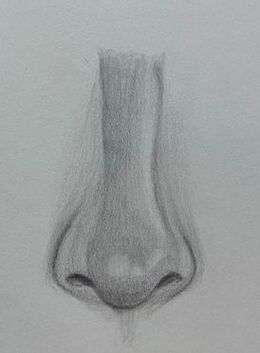
my nose I drew from the picture on the left
|
mouth
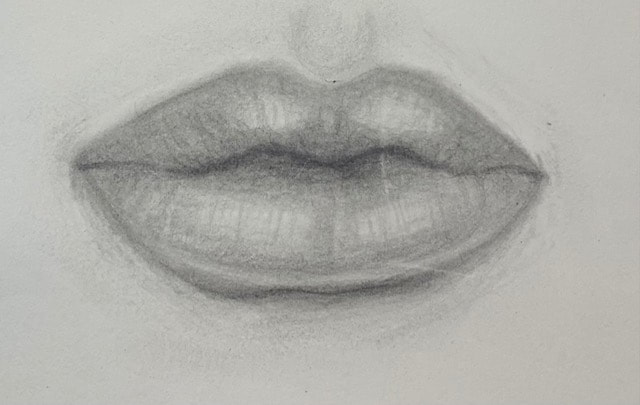
a mouth I drew following the video tutorial
|
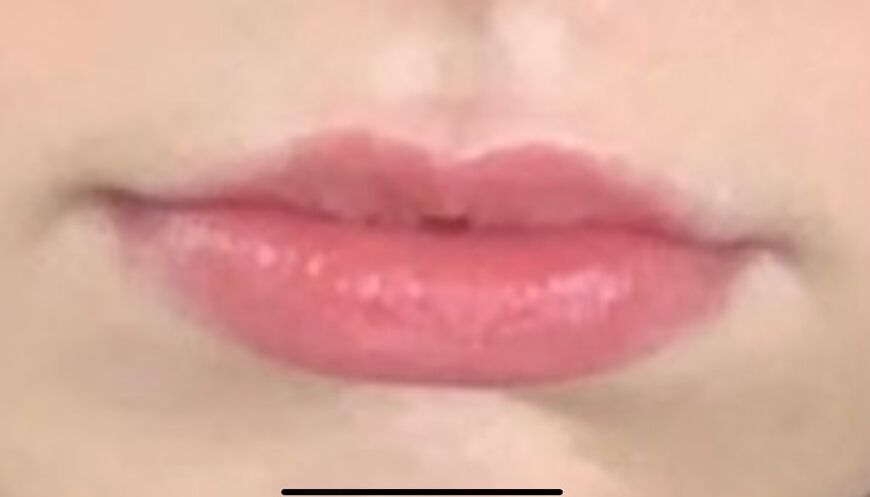
picture of my mouth
|
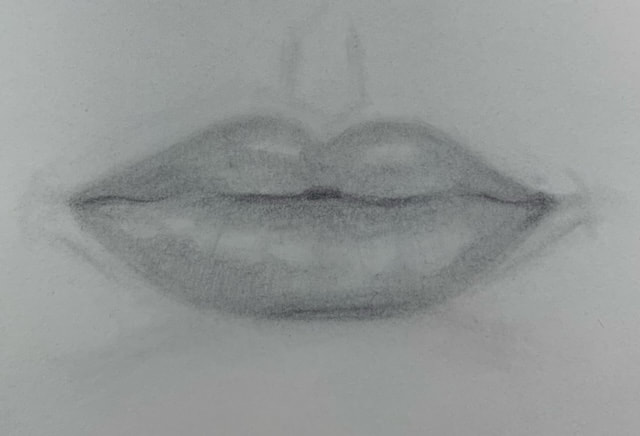
my mouth I drew from the picture on the left
|
face
a face I drew following the video tutorial
|
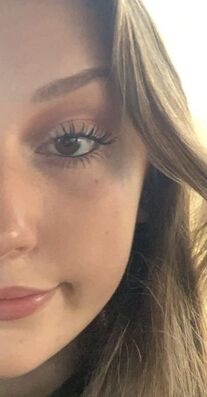
picture of half my face
|
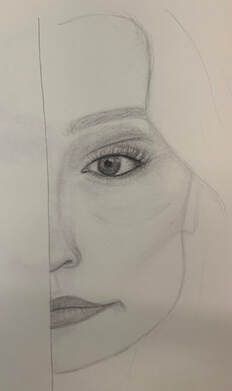
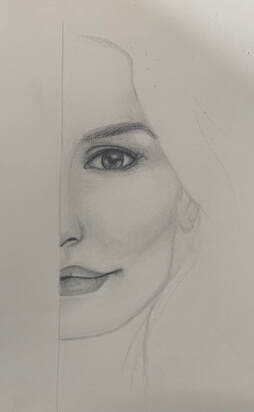
half of my face I drew from the picture on the left
|
'look what i can see through' project
brainstorming ideas
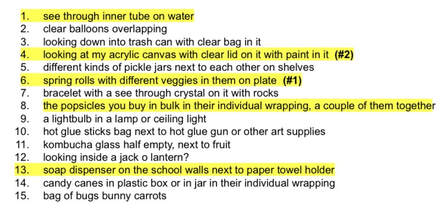
list of possible drawings, my favorites were the spring rolls and the paint palette but i chose to do the spring rolls
reference photos/sketches

reference photo #1, the reference photo for the composition I used
|

reference photo 2
|
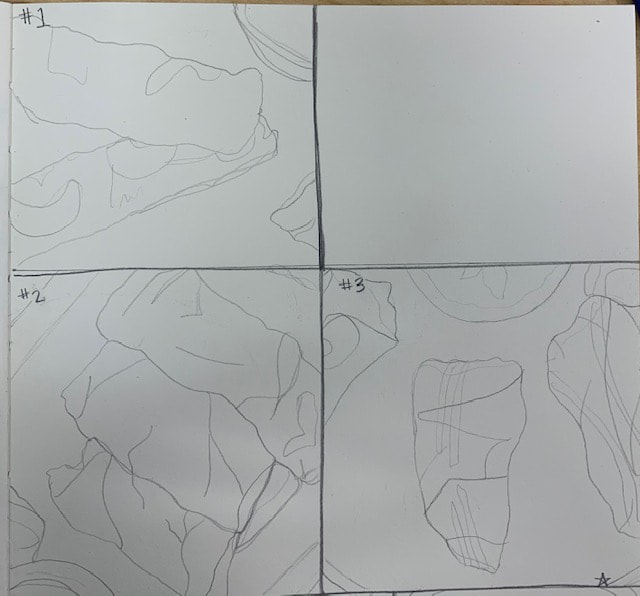
compositional sketches 1-3, I chose to do number 3
|
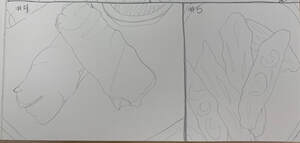
compositional sketches 4-5
|
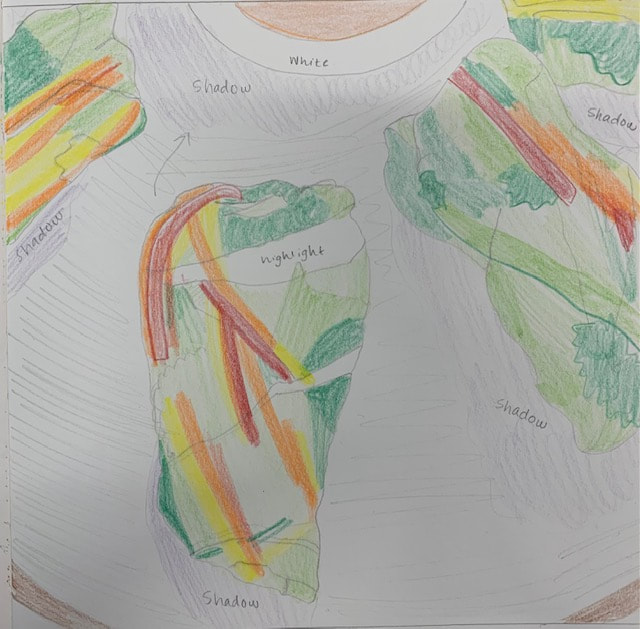
color sketch with reference photo 1 and compositional sketch 3
|
in progress 1-5

In progress photo 1- decided where I wanted everything to be placed and lightly drew the outline of my drawing with pencil
|
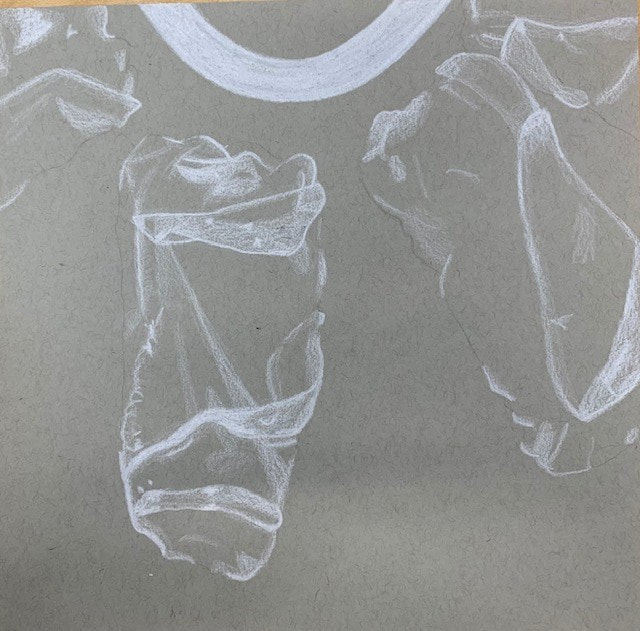
In progress photo 2- colored in all of the main highlights with my white prismacolor pencil
|
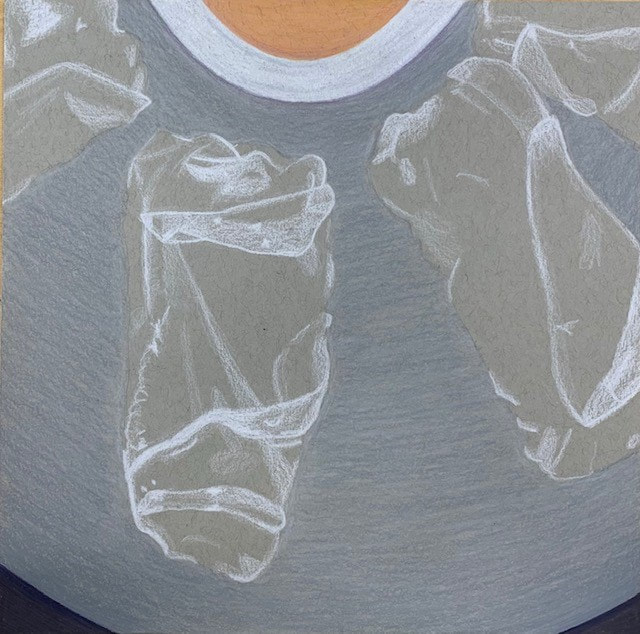
In progress photo 3- started and finished the dipping sauce, started coloring the background which was a plate on a dark colored table
|

In progress photo 4- started drawing and coloring in the inside of the spring roll, added more needed highlights
|
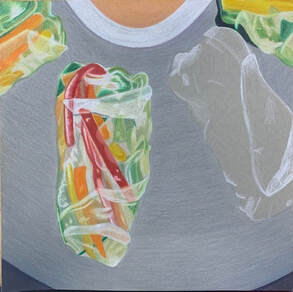
In progress photo 5- finished the first spring roll, started and finished the partial spring rolls on the sides, added more needed highlights, darkened up the plate
|
final drawing
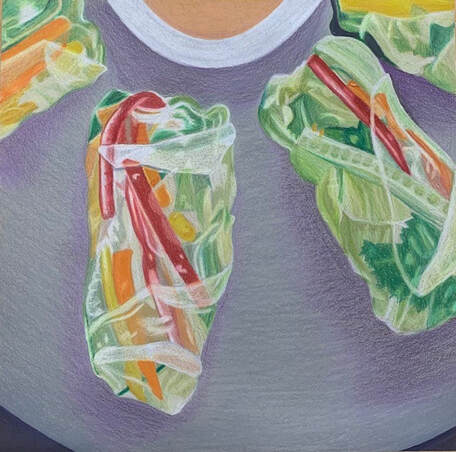
final piece, titled- "Spring Rolls"
self evaluation questions
1. I think the craftsmanship of my drawing is pretty good. It looks neat, you can see it clearly, and I believe it is decently well executed. Some aspects of my drawing maybe could have been given some more time and attention, like the plate, however overall I think it is well done
2. I created the look of transparency by placing my highlights down first before I drew the inside of the spring roll. I also lightly colored over the whole spring roll in a pale yellow to add the effect of the see-through rice paper being wrapped over top. I included the folds and dents that made it look transparent.
3. The main colors I used were reds, yellows, oranges, greens, grays, and purples. I wanted to capitalize the peppers to make different areas stand out by going very bright with the reds and yellows and oranges. The greens are incorporated in all of the spring rolls throughout each one and I used the same couple of colors in all of them so they would match well. I also specifically chose gray for the plate so that the background wouldn't distract from the very busy spring rolls. And I used more grays and purples for the shadows to blend in well with the background color but still look like an actual possible shadow.
4. I created contrast in my drawing by adding many shadows and many highlights. I included brights colors and dull colors, light colors and dark colors.
5. I used textures, highlights, and shadows to enhance my work by making it look more obvious what i was drawing was transparent. The highlights really captured the high points and folds of the rice paper. The shadows under the bowl and spring rolls made it appear to be more 3D rather than just a 2D drawing. You can't really see it well through picture, but I added texture into the sauce with different colors to create the effect of little specs of ingredients and herbs.
6. It is important to understand the media you chose for your artwork because different tools require different techniques. I chose prismacolor pencils and it was necessary for me to know how prismacolors layer, how dark they can get, how to blend them together properly, and how not to over-color in the same spot for too long. All of those things assisted me in making this project successful because I was able to do the right techniques for me personally. Every mini assignment we did to prepare for these projects helped me a lot because I knew how to use the white for the highlights correctly, I knew how to blend colors together for a more sleek appearance or to make a new shade, and I knew the steps and process it takes to get to a final artwork.
7. The main difficulties I had when creating this piece was making the plate look seamless. My grays seemed not to overlap too well and I could still see the paper underneath in very small places throughout my work. I didn't want it to be too dark at the time but I think it would have been better if i took it more one-step-at-a-time and just let it get a little darker. I also had some trouble with making the sauce appear to be a liquid and 3D and not just a color placed on the paper. I don't think that was too major or anything but I would have liked to have made it look more like that instead. But I think my piece is still pretty good and I really liked my idea.
pastels
eggs
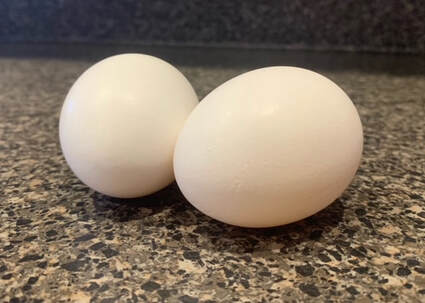
eggs reference photo
|
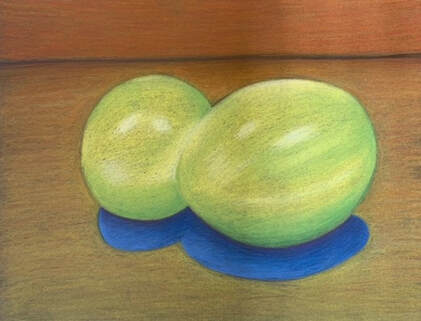
eggs in chalk pastel. warm background with cool eggs
|
wrapped candy
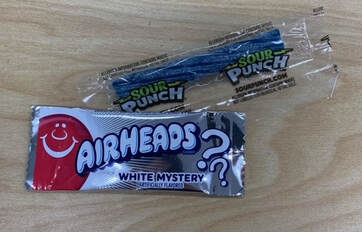
wrapped candy reference photo
|
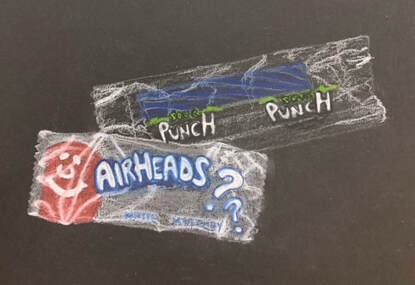
wrapped candy drawing with pastel pencils. one with a clear wrapper, one without a clear wrapper
|
'look at that view' project
brainstorm ideas
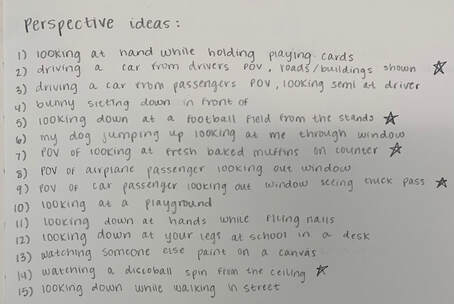
15 ideas for the project (my favorites were 2,5,7,8,14)
reference/composition/color sketch
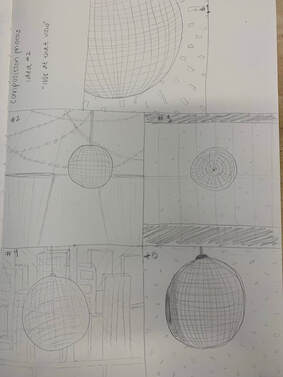
(idea #1- disco ball)
5 compositional sketches
|
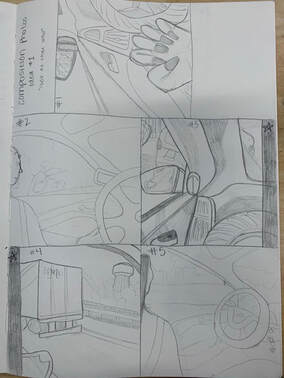
(idea #2- driver looking semi out window) 5 compositional sketches
|
compositional sketch I chose from idea #2 to do for my final piece
|
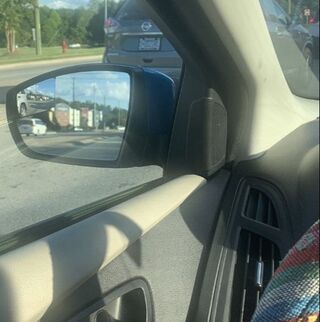
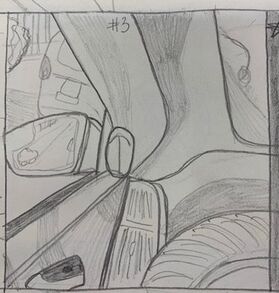
reference photo for compositional sketch #3 from idea #2 I chose to do for my final piece
|

color sketch to prep for my final
|
in progress 1-4
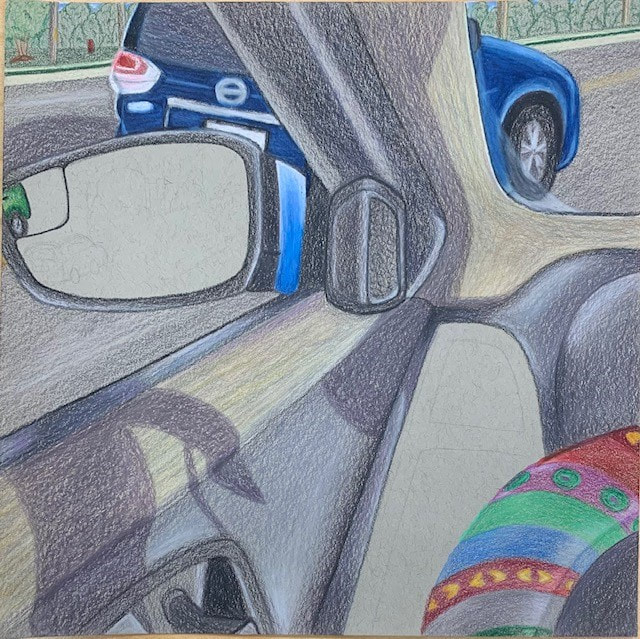
in progress photo 1, lightly sketched my drawing with pencil, worked on the car in the middle ground, started working on the interior of the car
|
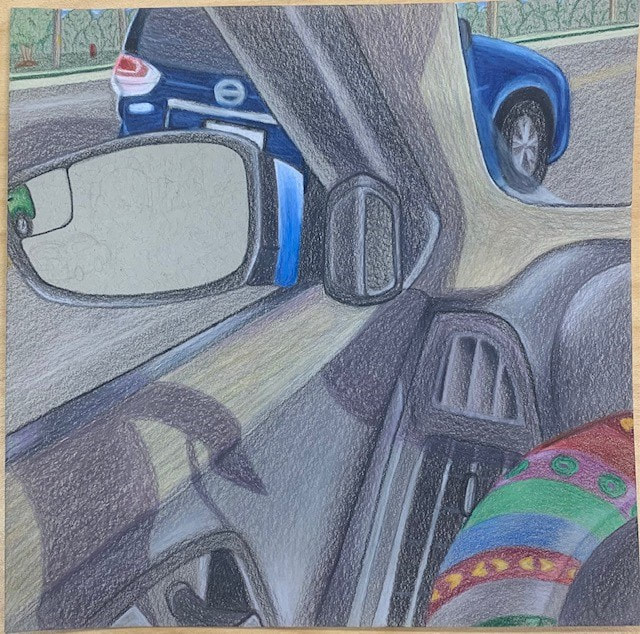
in progress photo 2, worked more on the interior of my car, as well as creating shadows and shading more area
|
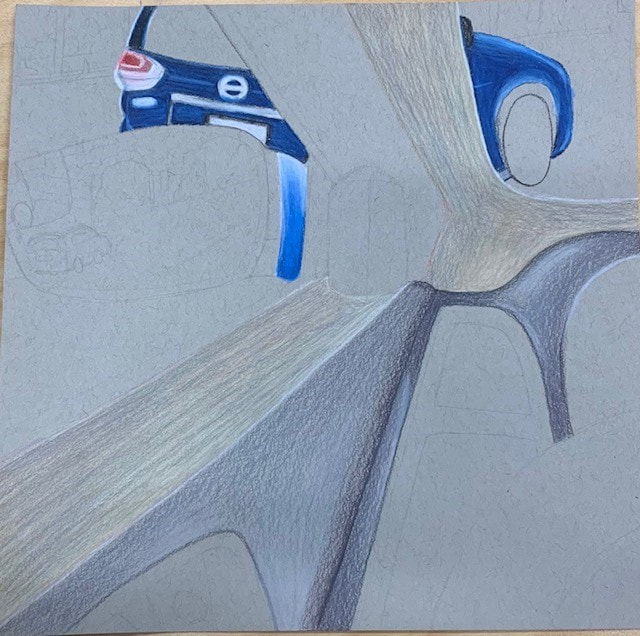
in progress photo 3, finished background and worked on the road, started the side mirror, and drew the steering wheel
|
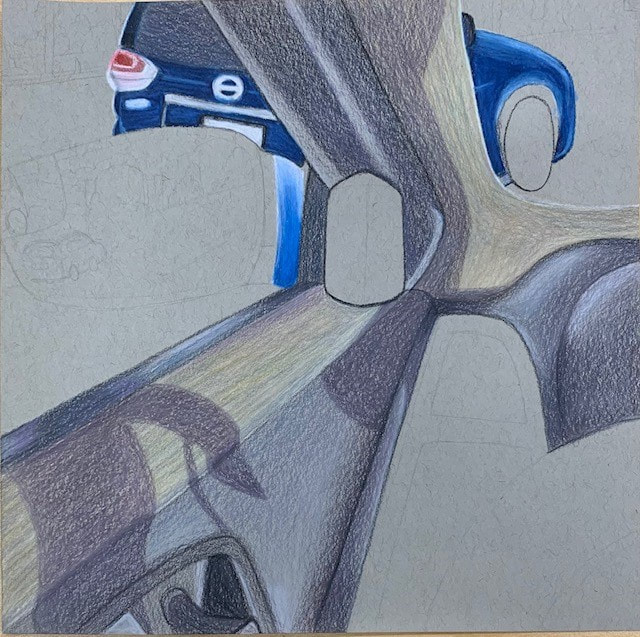
in progress photo 4, finished the car in the middle ground, added more shadows and smaller details, did the air vent and shading in that area
|
final photos
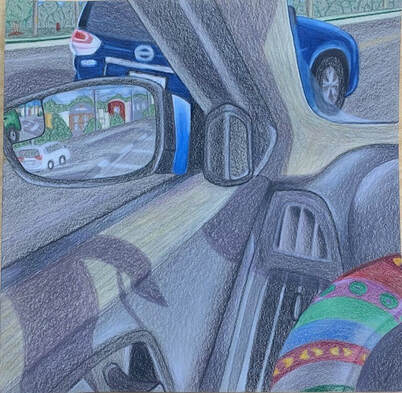
final photo #1 (cooler lighting)
|
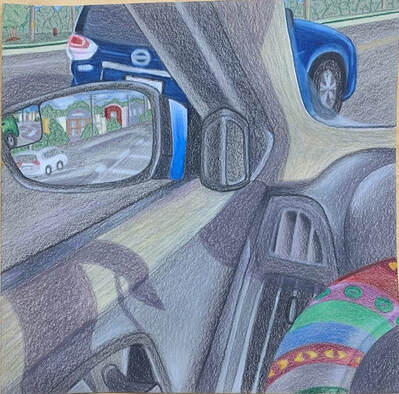
final photo #2 (warmer lighting)
|
self evaluation questions
1. I tried to create an interesting point of view by finding a perspective that most people will see at some point in their life, but focused on my own personal additions to what everyone else sees. I think overall the point of view was successful because it captured a specific area while also seeing things in the background that allowed the viewer to imagine they were in the driver's seat.
2. Learning how to draw in perspective was pretty helpful for this project. I needed to know the direction and the angle of the roads, the buildings, the car, the interior of my car, and the sidewalk. Knowing perspective was important for me to properly draw the lines in my work so the piece made sense.
3. It's important to understand perspective because it captures what the audience sees from their point of view. It helps your work make sense in real life and assists you in creating correct ratios, angles, and depth.
4. The previous colored pencil exercises were significant to the success of my piece. I knew how to layer, blend, create shadows, and create highlights with my colored pencils.
5. I think the craftsmanship of my work was pretty well. I took it step by step with patience and worked diligently. I layered my colored pencils and blended them decently in most areas.
6. I was able to achieve depth by creating a foreground, middle ground, and background. You can see the trees and sidewalk in the background, the other car and the road in the middle ground, and my cars interior in the foreground. I think you can tell what parts of my piece are located further or closer.
7. My experience with colored pencil is maybe a little more than the average person because we did colored pencils in art 2, painting honors, and now in drawing. My experience with perspective is a little more than average person as well because we worked on it in art 2 and now drawing as well. I had some trouble making a good color match for the lighter interior in my car which is one area of my piece I would like to redo because I feel like you can tell by its appearance that I struggled with making and blending out the colors together in that specific part. Some advantages I had was my previous practice with layering colored pencils to create a highlight and shadows. Having my own reference photo was also a benefit for this project.
8. Thinking about the process of this project, I maybe would have wanted to be taught how to create more textures with colored pencils in order to mimic the exact appearance of some areas in my car. But other than that, I feel like I was decently prepared for this project and knew how to move on from each portion. I struggled with one area in the beginning, but Mrs. Rossi put me in the right direction and after that issue I was able to go on with my artwork and finish early without other problems or obstacles caused by lack of preparation.
1 point perspective
2 point perspective

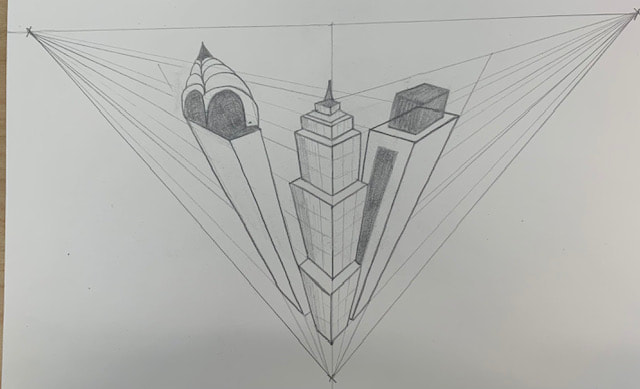
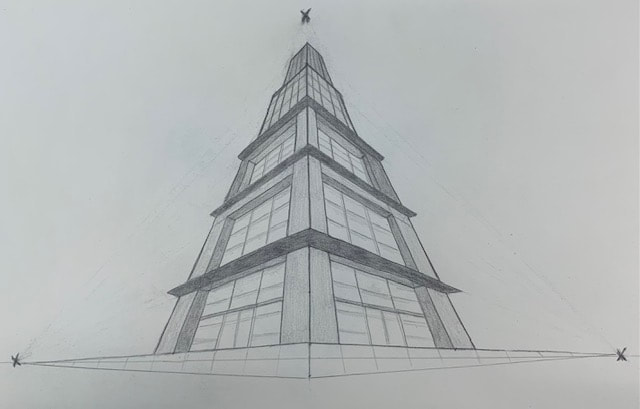
3 point perspective
|
|
colored pencil fruit/veggie
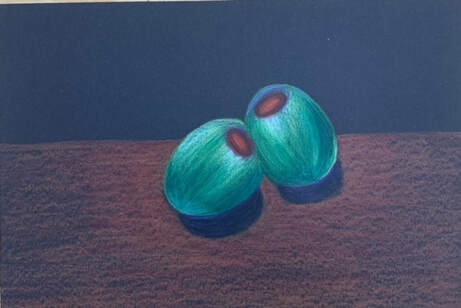
olives on black paper
colored pencil forms
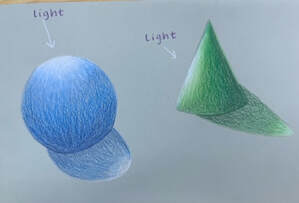
gray paper
|
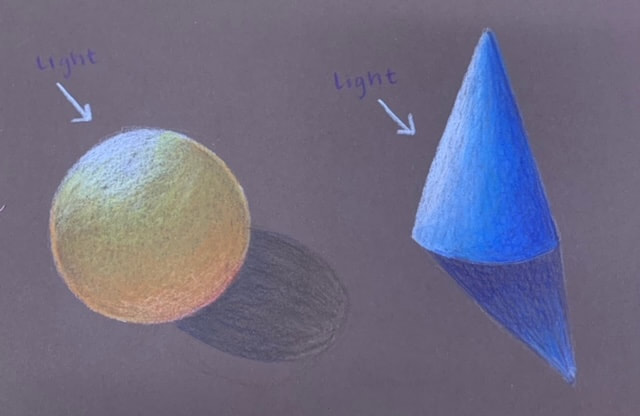
brown paper
|
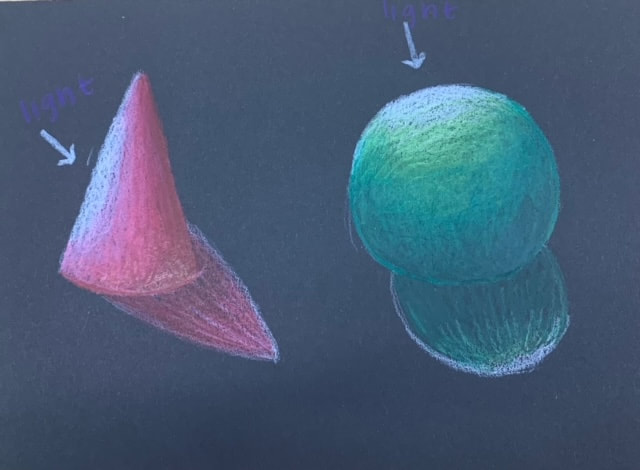
black paper
|
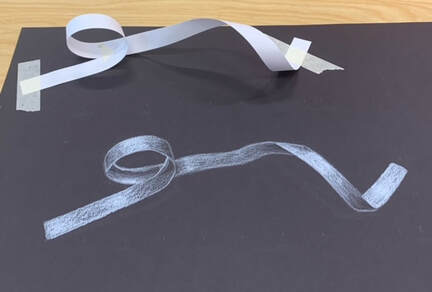
white ribbon
white value chart and spheres
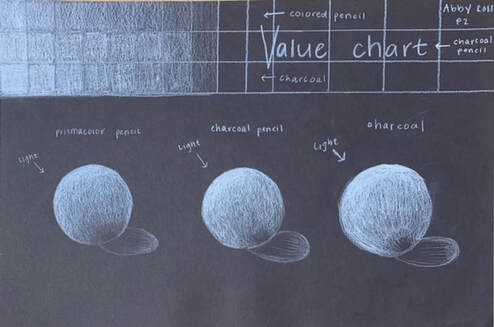
i prefer the prismacolor white colored pencil
still life unit
reference photos:
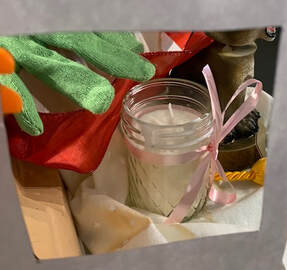
viewfinder photo #1
|
viewfinder photo #2
|
viewfinder photo #3
|
viewfinder photo #4
|
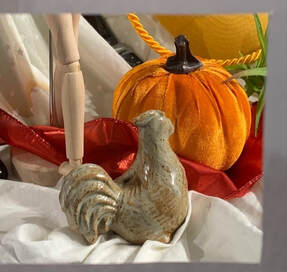
viewfinder photo #5
|
compositional sketches:
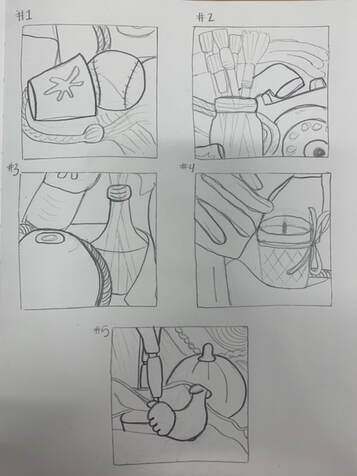
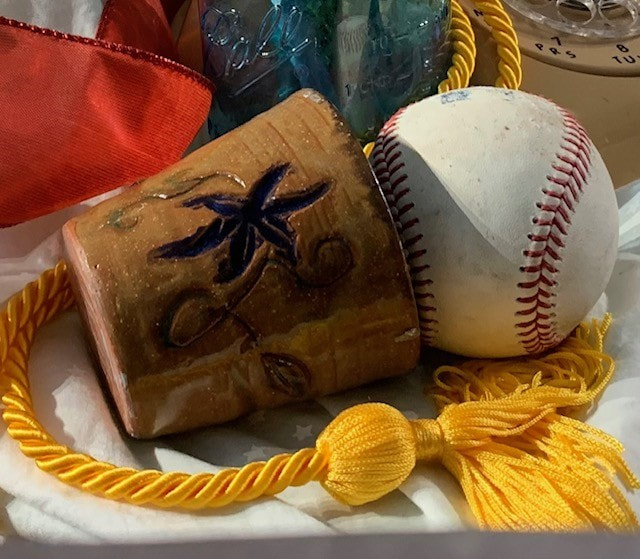
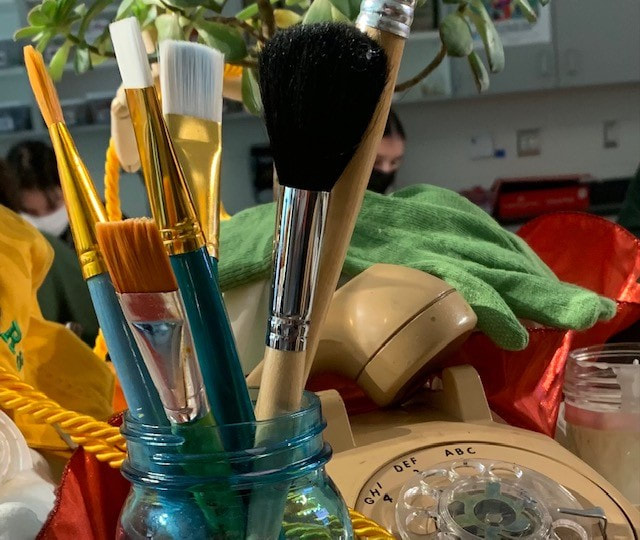
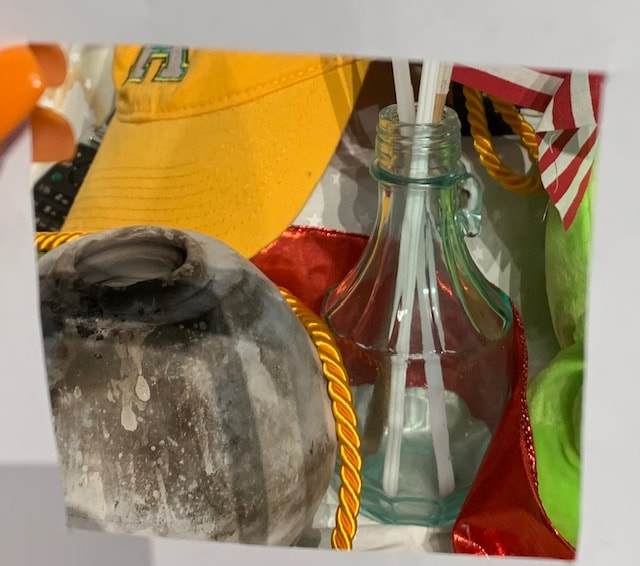
5 compositional sketches of what i saw in the viewfinder. #1 is the pottery cup, baseball and tassel. #2 is the mason jar with paint brushes and the telephone and glove. #3 is the glass vase and the hat and the other pottery piece. #4 is the glove and candle. #5 is the wooden man, chicken sculpture, and fake pumpkin.
|
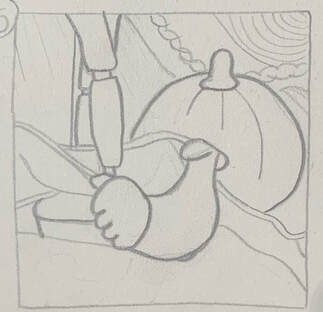
compositional sketch I chose to use for my final
|
in progress:
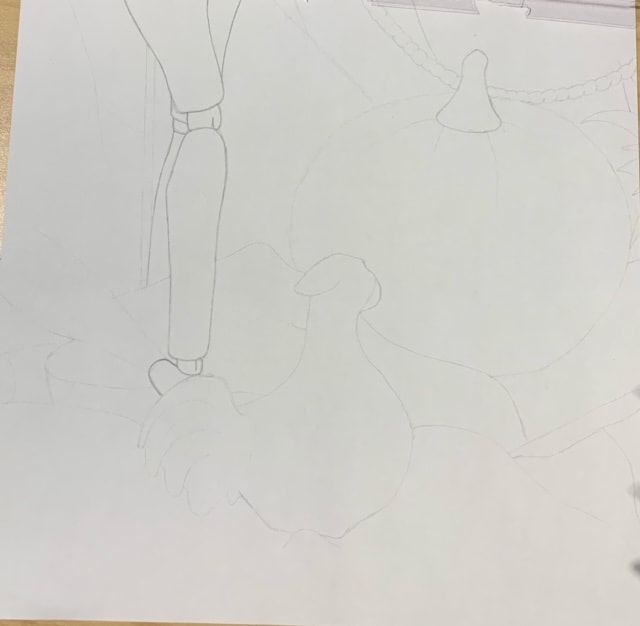
in progress photo 1, sketching out the main objects and focusing on the proportions and composition
|
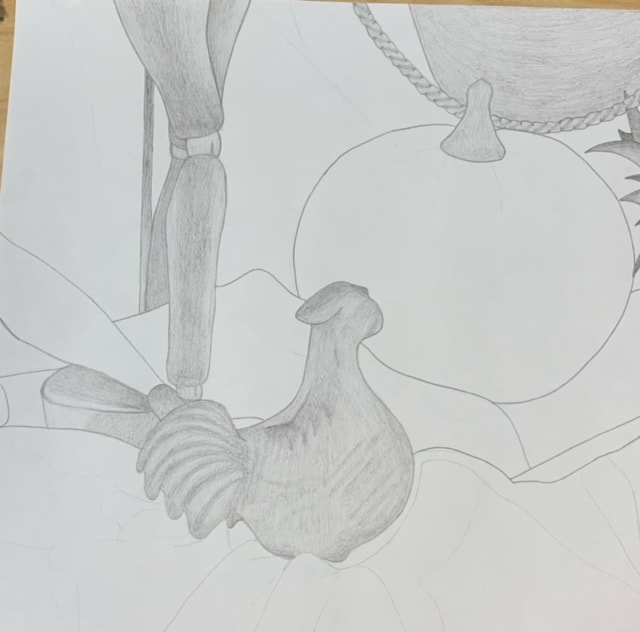
in progress photo 2, started shading the main objects, working on the foreground and middleground
|

in progress photo 3, started to add in the darker pencils, more values and shading, working on the foreground and middle ground again but starting the background
|
final still life drawing

final
Drawing critique still life:
1. I would say the craftsmanship of my drawing is good. It's pretty neat with clear edges and my objects are all defined clearly, as well as the space. I think my blending is good in some areas but in other places it maybe could have been smoother.
2. I would say the values and shadows are decently realistic. They are definitely dramaticized because its a drawing and I wanted them to be visible but I would say the placement of the values and shadows is pretty close to real life. I added values in every object whether they were dark or light. Values are important to your work in order to make it look 3D and to give it definition.
3. The light is focused on the middle of the work because the light source was there in real life too. I think you can tell where the light source was coming from.
4. The compositional sketches were extremely important for this piece. The sketch helped me lay out the composition and the location of the different aspects in my work. It acted as a grid or a reference for my final piece.
5. I would say my final drawing was successful by being able to easily point out where my viewfinder was capturing as well as seeing different values and depths in my piece.
6. I think the proportions of my work are pretty accurate and represent what i saw well. The structure and perspective are alright, I tried to draw everything i saw from the correct angle.
7. I think the placement and grouping of the objects create a pleasing arrangement. Your eye starts in one place and goes around to see everything. I think I did good with the composition.
8. There is a center of interest and I think its in an okay location, it maybe could have been moved more to the left or down a little.
9. I think I managed my time really well while working on this piece, I finished with some time to spare without rushing too much or ignoring the small details. I also used my resources pretty well, I used my compositional sketch, viewfinder photo, and the actual subject in real life to make this piece. I maybe could have used the real subject a little more than i did.
10. I had a hard time with the layout in the beginning but I tried using a grid to help me with the composition a little and that worked better for me.
11. I learned how to look at the big picture and the small details at the same time. Having to make everything proportionate was a little difficult but showed me how to be patient and careful with my art.
paper bag

draw a crumpled paper bag with value and folds
value forms drawing
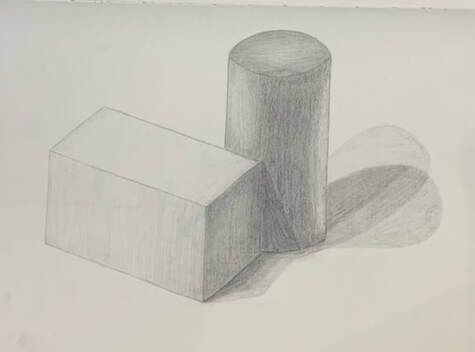
3D cylinder and cube with light source
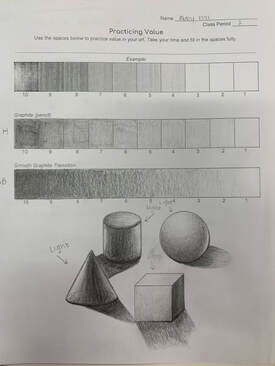
9 step value chart
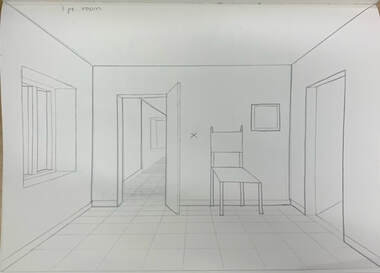
classroom- final contour drawing
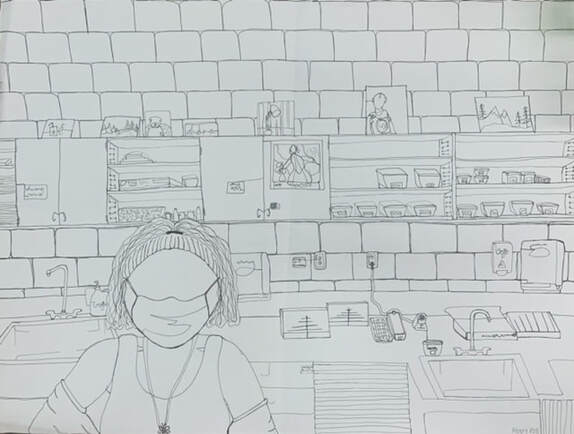
final contour drawing of the classroom from my pov. I tried not to lift my pen as much as i could but it was definitely hard not to (i do not have a practice)
SELF EVALUATION- 1. I used a fluid line a majority of the time but had to pick up my pen during breaks or on the occasional accident. It is evident that I mainly used a fluid line because my pen had to overlap on certain parts to avoid picking it up and starting a new line.
2. My knowledge and practices with contour drawing helped my piece be successful by knowing how to focus on specific parts of the piece rather than outlining and filling it in. It helped me follow my pen instead of drawing from memory.
3. The difference between my line drawing and an outline drawing is that there are more contours and detailed lines in a contour line drawing because you follow your pen and what you see, rather than having to go back in and add the detail you missed while doing an outline drawing. Contour line drawings offer more perspective as well.
4. My interpretation of line is essential in capturing the look of the room because there are so many details, different platforms, shapes, perspectives, sizes, values, and objects that require dedicated line work in order to convey the depths of the room. Our line tells the story of the room by following everything we see.
5. I learned how to be patient and how to focus on the little, minor details rather than see everything through the big picture. If I could recreate my piece, I would try to go a little slower and take my time more to avoid it looking so rushed and hopefully more neat. I think I also could have added more texture to the different areas of my work.
backpack 9/1
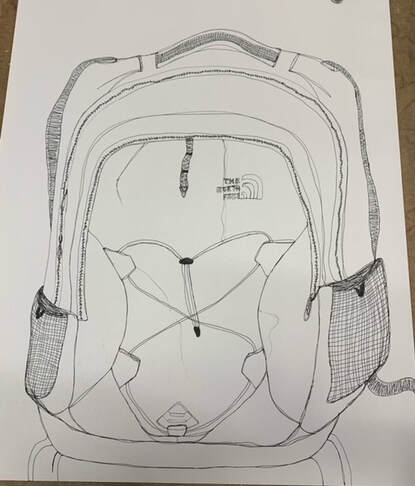
contour, modified backpack. tried not to lift up my pen and make it life-sized. this was harder to do without lifting my pen. i also had a hard time with creating value and definition without shading. but i set up my northface backpack on a stool and tried to draw it as best as i could
shoe 8/31
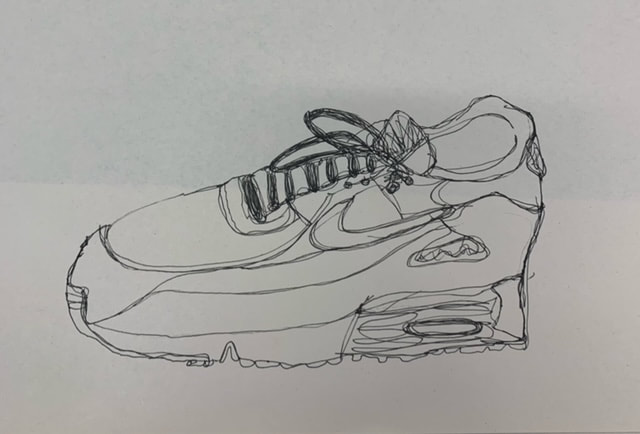
this was my contour, modified shoe drawing. i tried not to lift up my pen and make it life-sized. this was actually my practice, but i ended up liking it a lot more than my final
|
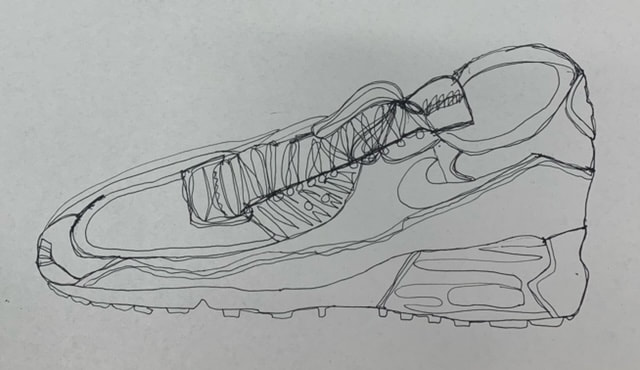
this was my 2nd contour, modified shoe drawing. i tried not to lift up my pen and make it life-sized. this was technically my final but I think it is a lot worse than my practice because my proportions and the shape of it were off
|
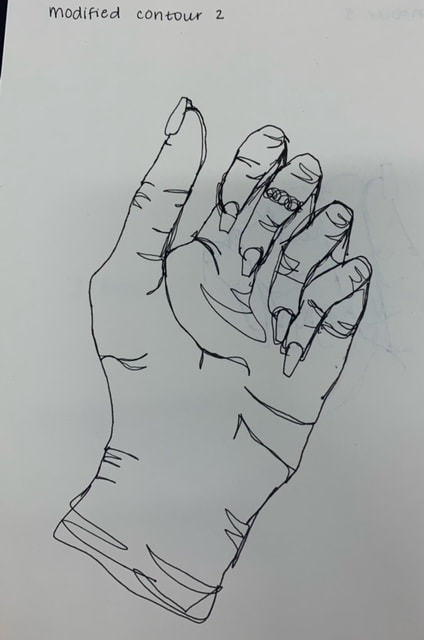
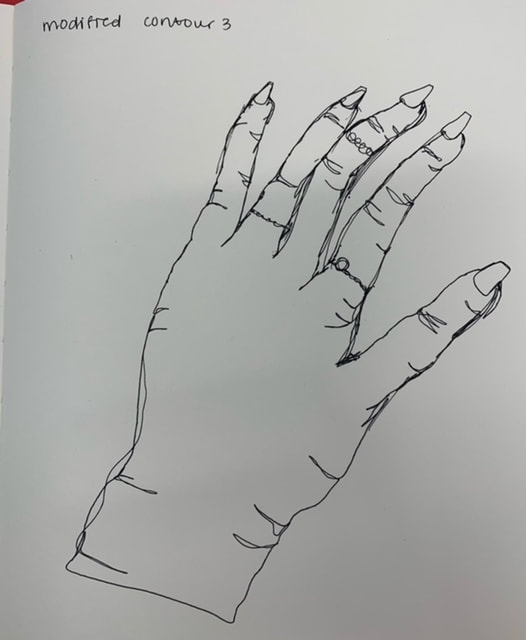
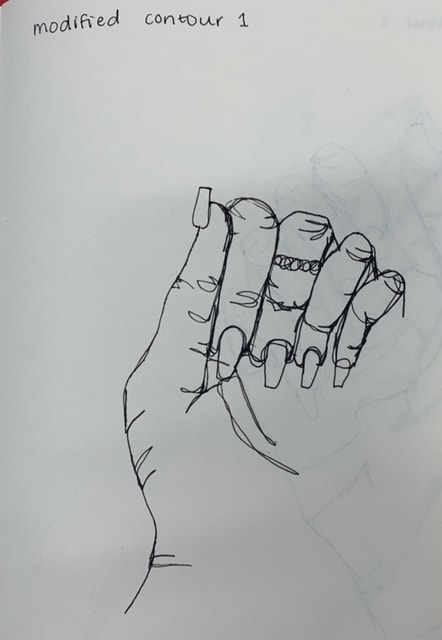
modified contour 8/30
modified contour 8/30. tried to not lift up my pen and tried to make it life-sized. it was my best out of the 3 but was a little small
|
modified contour 8/30. tried to not lift up my pen and make it life-sized again. this time i tried a different hand position and it was a little bigger than the first but some proportions and placements were off
|
modified contour 8/30. tried to not lift up my pen and make it life sized again. I went back to the first hand position for this one and i think this one would have been the best if i finished it because i feel like the proportions and placements were better, as well as the size was closer to real life
|
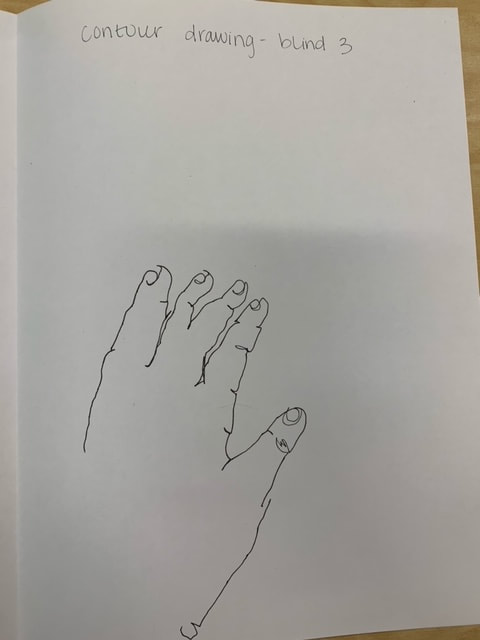
blind contour 8/27 & 8/30

blind contour 8/27. tried not to lift up my pen, make it life-sized and did not look at the paper while i drew. my first one was probably my best.
|
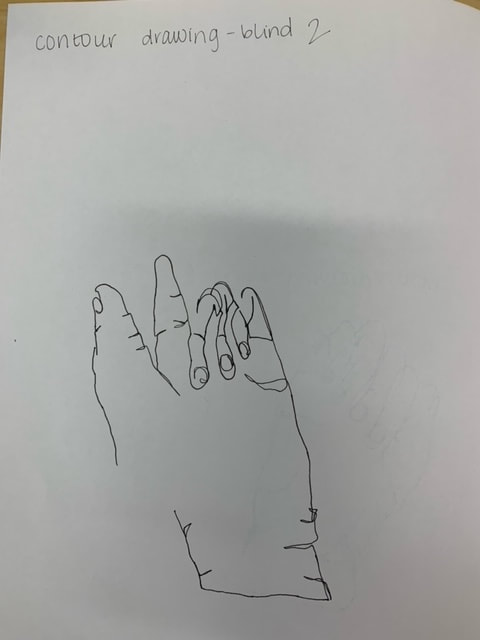
blind contour 8/27. tried not to lift up my pen, make it life-sized, and did not look at the paper while i drew again. this one was probably my worst because the proportions and placements were way off
|
blind contour 8/27. tried not to lift up my pen, make it life-sized, and did not look at the paper while i drew again. this one was alright, i think it was better than the second but it definitely isn't perfect
|
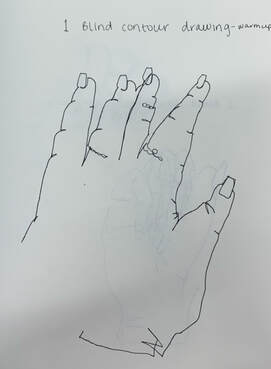
blind contour 8/30. warmup/practice
|
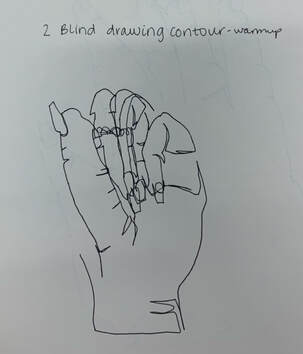
blind contour 8/30. warm up/practice
|
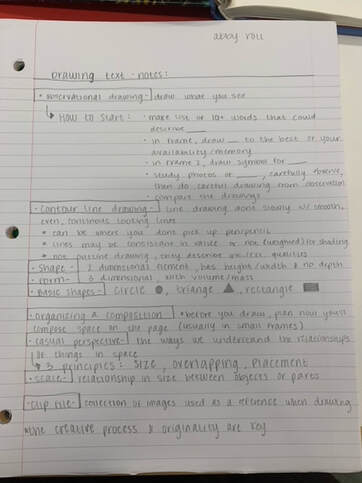
notes pages 49-63
4 assessment drawings

alien. tried to create an alien from my imagination and attempted to shade it and give it definition
|
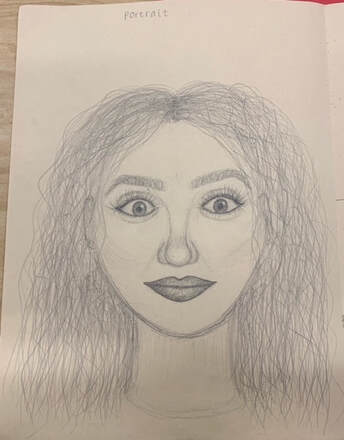
portrait of my friend Allie in my painting class. I had a hard time getting the layout and proportions right but i think it turned out all right
|
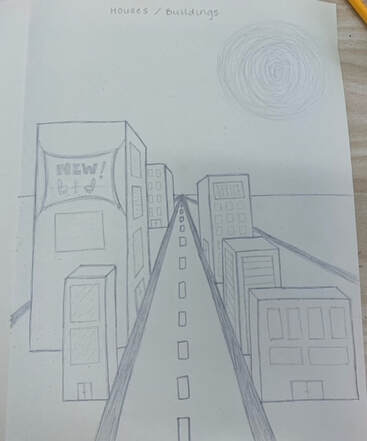
buildings in 1 pt perspective. i made a street with multiple different sized buildings with different accents. probably could have been more detailed.
|
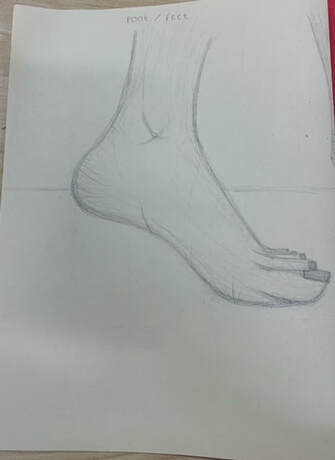
foot from the side view, attempted to lightly shade
|
